Picture this: It’s a crisp autumn afternoon, and you’re unpacking a picnic basket filled with crusty bread, sharp cheddar, and a deep-red ring of homemade beef summer sausage you crafted yourself. Your friends marvel at your culinary prowess, asking, “You made this?!” There’s no better feeling—and guess what? You don’t need to be a seasoned butcher to pull it off.
In this guide, we’ll walk through every step of creating beef summer sausage from scratch. Designed for beginners, this recipe balances simplicity with artisanal flair. You’ll learn not just the “how,” but the “why” behind each technique, empowering you to tweak flavors and master food safety like a pro. Let’s dive in!
Why Homemade Summer Sausage Beats Store-Bought
I’ll never forget my first attempt at summer sausage. I’d just bought a smoker and was eager to try something beyond ribs and brisket. The result? A dry, crumbly log that tasted more like salt than sausage. Turns out, I’d skimped on the fat and rushed the curing process. But here’s the thing: Mistakes are the best teachers.
Making your own sausage lets you:

- NEW MEATIER TASTE: plant-based sausage for your grill, frying pan and beyond
- EXCELLENT SOURCE OF PROTEIN – 16g per serving
- 40% LESS SAT FAT: than a leading brand of pork sausage
- Ditch the mystery ingredients (no more unpronounceable preservatives).
- Customize flavors (add jalapeños, sun-dried tomatoes, or even bourbon!).
- Save money (homemade costs 40% less than premium store brands).
- Impress everyone (seriously, gift this, and you’ll earn lifelong bragging rights).
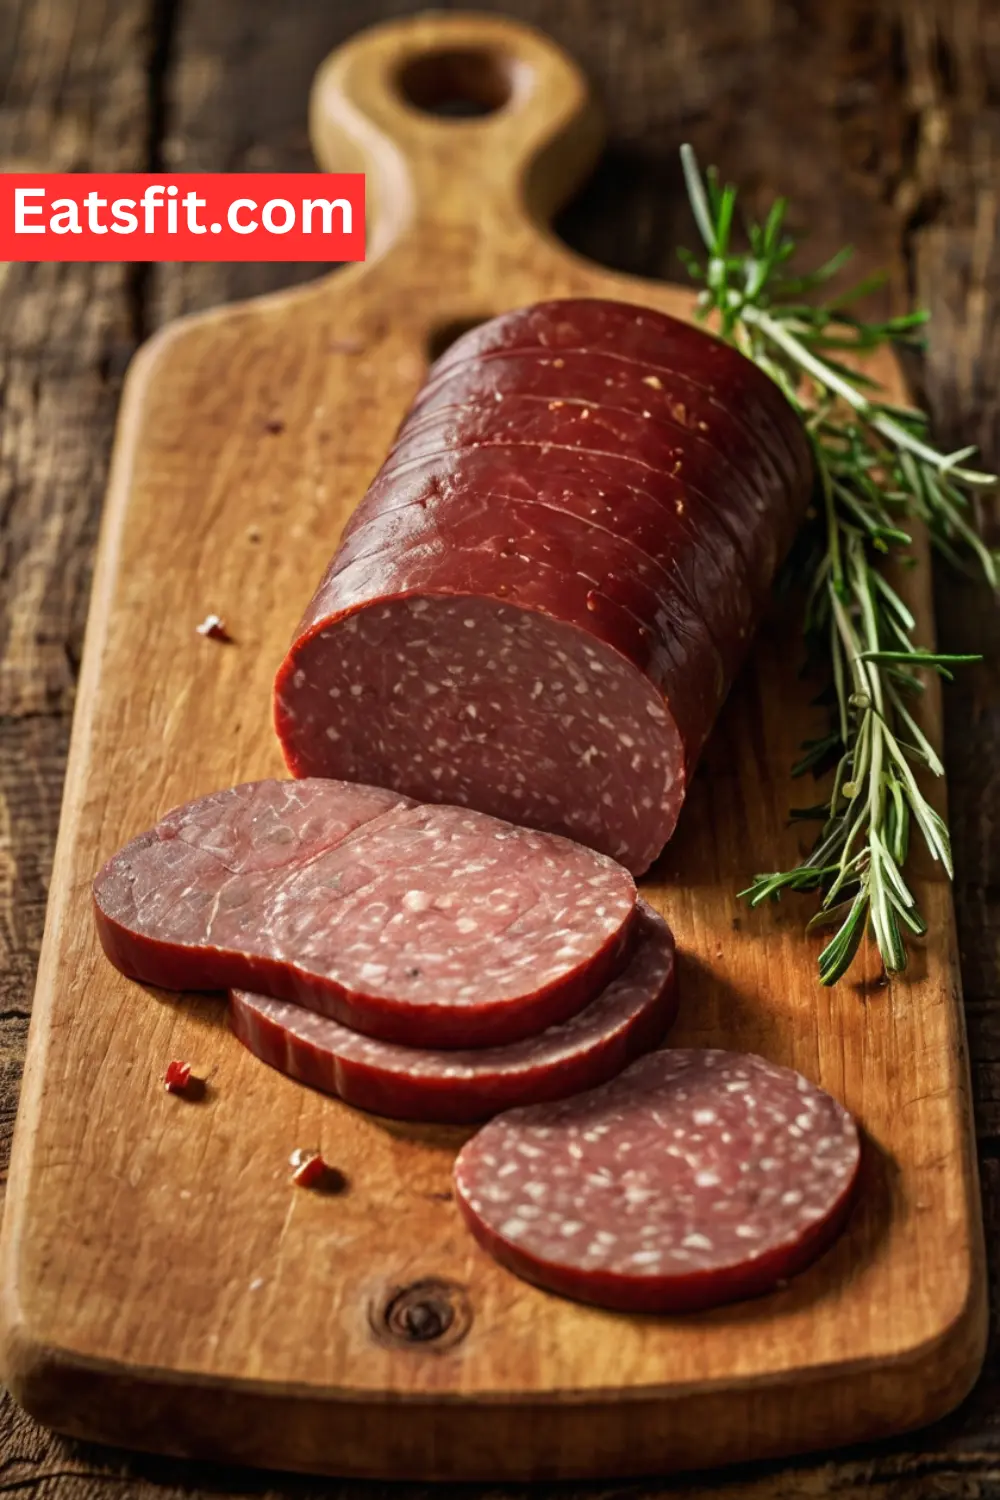
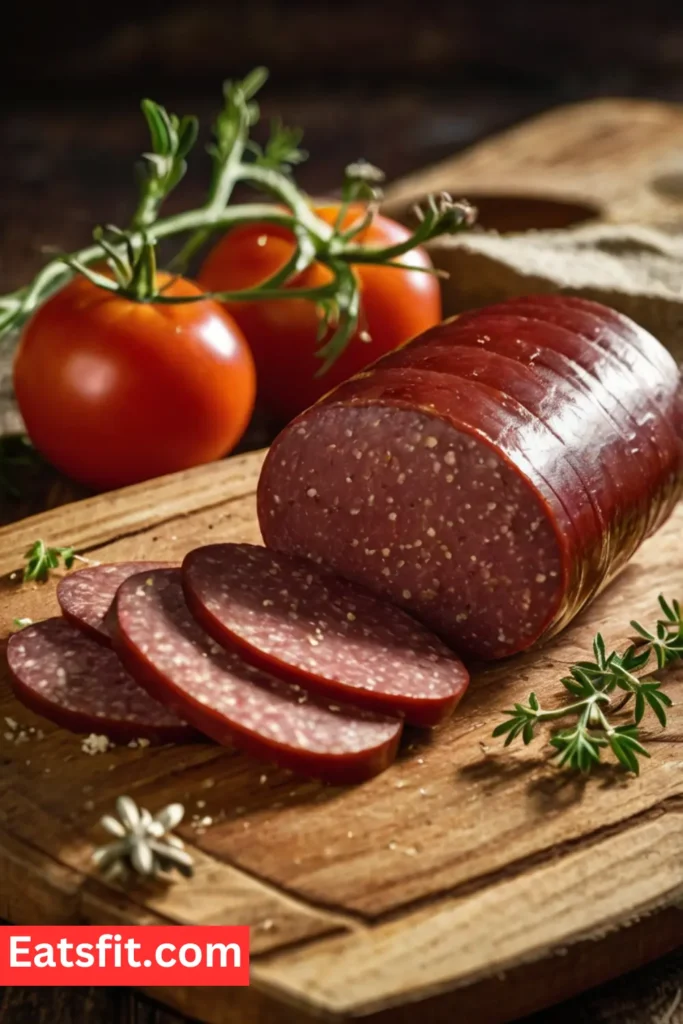
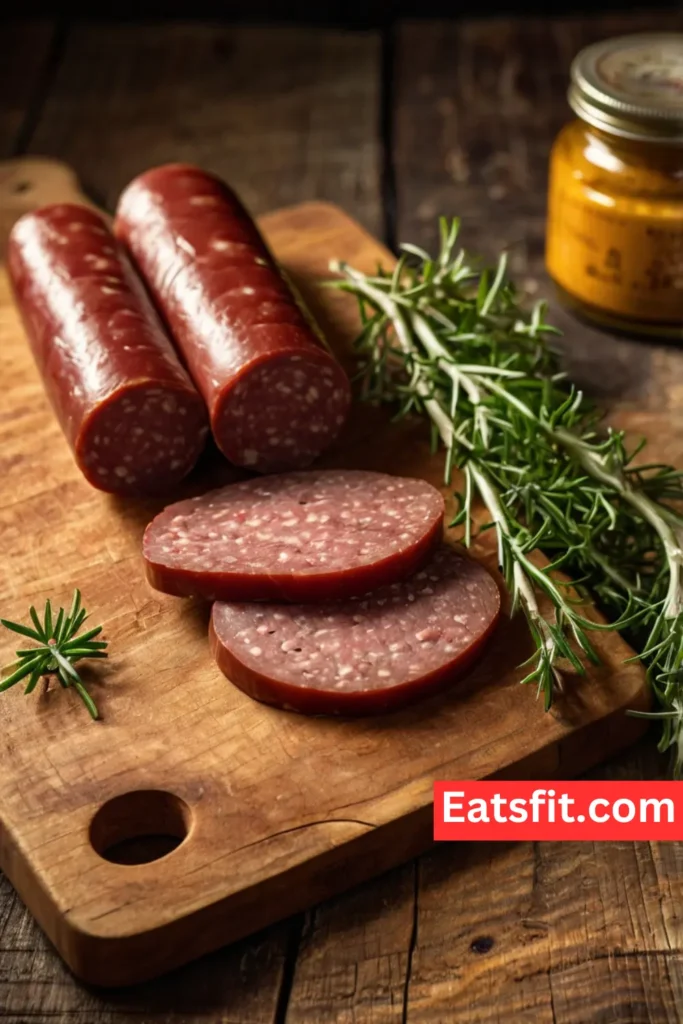
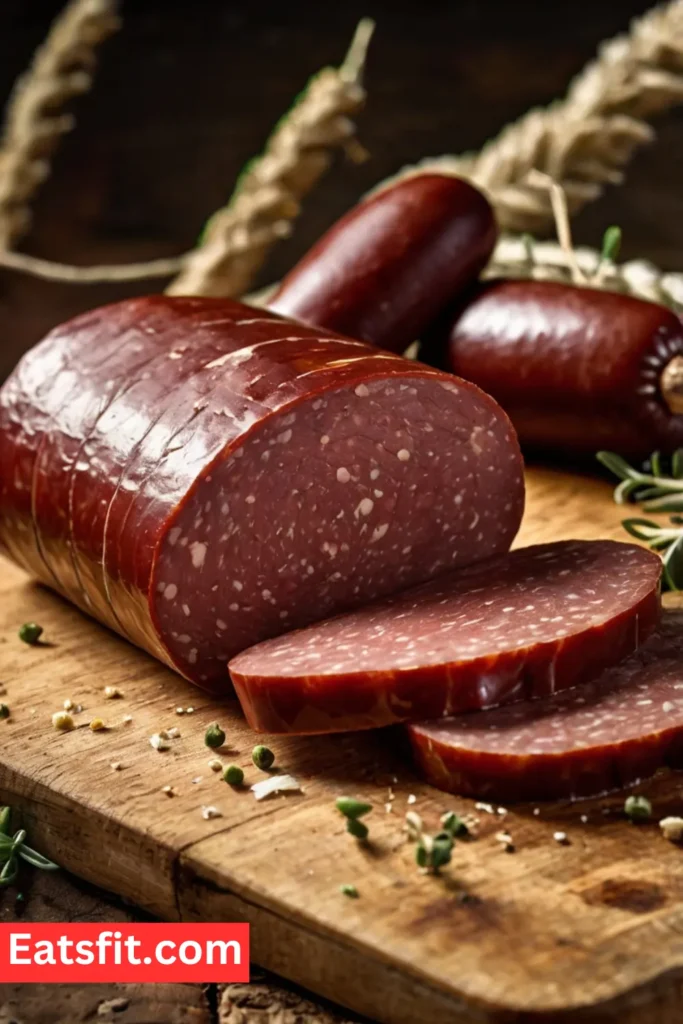
What Exactly Is Summer Sausage?
Before we jump into the recipe, let’s demystify this charcuterie star. Traditional summer sausage is a fermented, smoked meat product preserved with salt and spices. Its name comes from its historical role: Before refrigeration, farmers relied on its long shelf life to preserve meat through warm months.
Modern home recipes skip the weeks-long fermentation in favor of quicker curing methods, making it accessible without compromising safety or flavor. The result? A semi-dry, tangy, smoky sausage that’s perfect for slicing thin and pairing with cheese, crackers, or even scrambled eggs.
Ingredients for Authentic Beef Summer Sausage
(Makes 4–5 pounds—enough to share!)
Here’s your shopping list. Pro tip: Source high-quality meat—it makes all the difference.
Core Ingredients
- 3 lbs 80/20 ground beef (20% fat keeps it juicy)
- 1 lb pork back fat (or substitute 1 lb fatty pork shoulder)
- 2 tbsp kosher salt (not table salt—it’s too fine)
- 1 tbsp black pepper (freshly cracked for maximum aroma)
- 2 tsp mustard seeds (adds a subtle tang)
- 1 tsp garlic powder (or 2 fresh cloves, minced)
- 1 tsp onion powder
- 1 tsp smoked paprika (not regular—smoked adds depth)
- 1/2 tsp curing salt (Prague Powder #1—non-negotiable for safety)
- 1/4 cup ice-cold water (helps bind the meat)
Optional Boosters
- 1 tsp red pepper flakes (for heat)
- 2 tbsp brown sugar (balances saltiness)
- 1/2 cup red wine (replaces water for richness)
Tools You’ll Need (No Fancy Gear Required!)
You don’t need a $500 sausage stuffer. Here’s a budget-friendly toolkit:
- Meat grinder (
- 30–
- 30–50 models work; or ask your butcher to pre-grind)
- Sausage stuffer (a $20 funnel attachment for your grinder suffices)
- Collagen casings (size 2.5–3” diameter; find on Amazon)
- Smoker or oven (see smoking alternatives below)
- Meat thermometer (critical for safety—$15 digital ones work)
- Large mixing bowls (chill them in the freezer first)
Step-by-Step Recipe: Crafting Your First Summer Sausage
Step 1: Prep Like a Pro (Keep It Cold!)
Meat safety 101: Bacteria thrives at room temp.
- Chill your grinder, bowls, and meat in the freezer for 20 minutes.
- Combine ground beef, pork fat, and all spices in a large bowl. Mix gently with cold hands (don’t overwork it yet).
Pro Tip: If using pre-ground meat, spread it on a tray and freeze for 15 minutes before mixing.
Please enter product(-s) ASIN(-s)!Step 2: Grind and Bind (The Secret to Perfect Texture)
- Grind the mixture through a medium plate (4.5mm) twice. This ensures even fat distribution.
- Add ice water (or red wine) and mix vigorously for 5 minutes. The mixture should feel sticky and slightly elastic—this binds the sausage so it holds shape.
Beginner Mistake Alert: Under-mixing causes crumbly sausage. Think of it like kneading dough—develop that protein glue!
Step 3: Stuffing the Casings (No Stress, No Mess)
- Soak collagen casings in warm water for 30 minutes to soften.
- Load your stuffer and slide the casing onto the tube. Tie a knot at the end.
- Fill the casing slowly, guiding it with one hand to avoid air pockets. Twist into 12” links.
Pro Tip: Poke tiny holes in any air bubbles with a sterilized needle to prevent bursting during cooking.
Step 4: The Cure & Smoke (Where Magic Happens)
- Hang sausages in your fridge (on a baking rack) for 12–24 hours. This lets the cure penetrate and flavors meld.
- Smoke at 165°F for 4–6 hours using hickory or cherrywood. Target an internal temp of 155°F (use that thermometer!).
No Smoker? No Problem:
- Oven method: Bake at 175°F on a rack over a tray. Add 1 tsp liquid smoke to the meat mix.
- Grill method: Use indirect heat with a smoke pouch (soaked wood chips in foil).
Step 5: Cooling & Storage (Keep It Fresh)
- Shock sausages in an ice bath for 20 minutes to stop cooking.
- Pat dry, then refrigerate uncovered overnight to develop a pellicle (a tacky surface that locks in flavor).
- Vacuum-seal for freezing (lasts 6 months) or wrap in parchment paper for the fridge (3 weeks).
7 Must-Know Tips for Flawless Sausage
- Fat Ratio Is Key: 20–30% fat prevents dryness. Use a kitchen scale to measure accurately.
- Curing Salt Isn’t Optional: Prague Powder #1 prevents botulism. Find it on Amazon or at local butcher shops.
- Low & Slow Wins: High heat melts fat out. Keep smoker/oven below 170°F.
- Test a Patty First: Fry a small piece to adjust seasonings before stuffing.
- Avoid Cross-Contamination: Sanitize surfaces and tools with a vinegar solution.
- Slice Against the Grain: Makes each piece tender, not chewy.
- Patience Pays: Rushing the cure or smoke = bland, unsafe sausage.
Serving Ideas & Creative Twists
Once you’ve nailed the basics, experiment! Here’s how I’ve leveled up my recipe:
- Jalapeño-Cheddar: Fold in 1/2 cup diced jalapeños and 1 cup shredded cheddar.
- Maple-Bourbon: Add 2 tbsp maple syrup and 1/4 cup bourbon to the mix.
- Italian-Inspired: Swap paprika for fennel seeds and red wine.
Serving Suggestions:
- Charcuterie boards with honey, fig jam, and aged Gouda.
- Breakfast hash with diced sausage, potatoes, and eggs.
- Camping trips (it’s shelf-stable for days!).
FAQs: Your Questions, Answered
Q: Can I use venison or turkey instead of beef?
A: Yes! For venison, use 50% venison + 50% pork fat. Turkey requires adding 1 tbsp olive oil per pound to compensate for leanness.
Q: How do I know if it’s safe to eat?
A: Always use curing salt and a thermometer. The USDA mandates 155°F for ground meats. When in doubt, refer to their Safe Temperature Guide.
Q: Why did my sausage turn out dry?
A: Likely culprits: Overcooking, insufficient fat, or not enough water in the mix.
Q: Can I skip the casings?
A: Absolutely! Form the mix into logs, wrap in parchment, and cook. It’s called “summer sausage loaf.”
Final Thoughts: Embrace the Journey
My first successful batch of summer sausage took three tries. There were mishaps—over-smoked edges, a casing explosion (messy, but hilarious in hindsight). But now, it’s a holiday tradition. The key is to start simple, respect the process, and have fun.Ready to Become a Sausage Savant?
Tag us on Instagram with your creations, or drop a comment below with questions. Hungry for more? Explore our guides on DIY Bacon or Fermented Hot Sauce to level up your homesteading game.

Tabid Kamran is a skilled digital marketer with a passion for driving brand growth through innovative online strategies. With expertise in SEO, social media marketing, email campaigns, and paid advertising, Tabid specializes in creating tailored campaigns that connect with target audiences and drive measurable results. With a keen understanding of consumer behavior and data analysis, he optimizes strategies to boost engagement, conversions, and overall performance. Continuously staying ahead of the latest trends, Tabid combines creativity with data-driven insights to help businesses grow in the ever-evolving digital landscape. His dedication to achieving success makes him a valuable asset in the digital marketing field.
